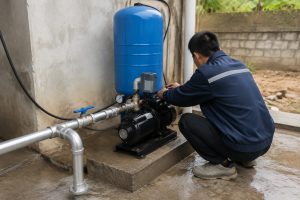
Is your water flow weak and inconsistent, turning simple tasks like showering into a frustrating experience?
This fluctuation can signal problems with your pump's settings, impacting its efficiency and lifespan.
But there's a straightforward solution.
Yes, you can absolutely adjust the pressure on most water pumps. The method depends on whether your pump has an automatic electronic controller or a traditional mechanical pressure switch. Adjusting it involves setting the cut-in (start) and cut-out (stop) pressures to match your system's needs for optimal performance.
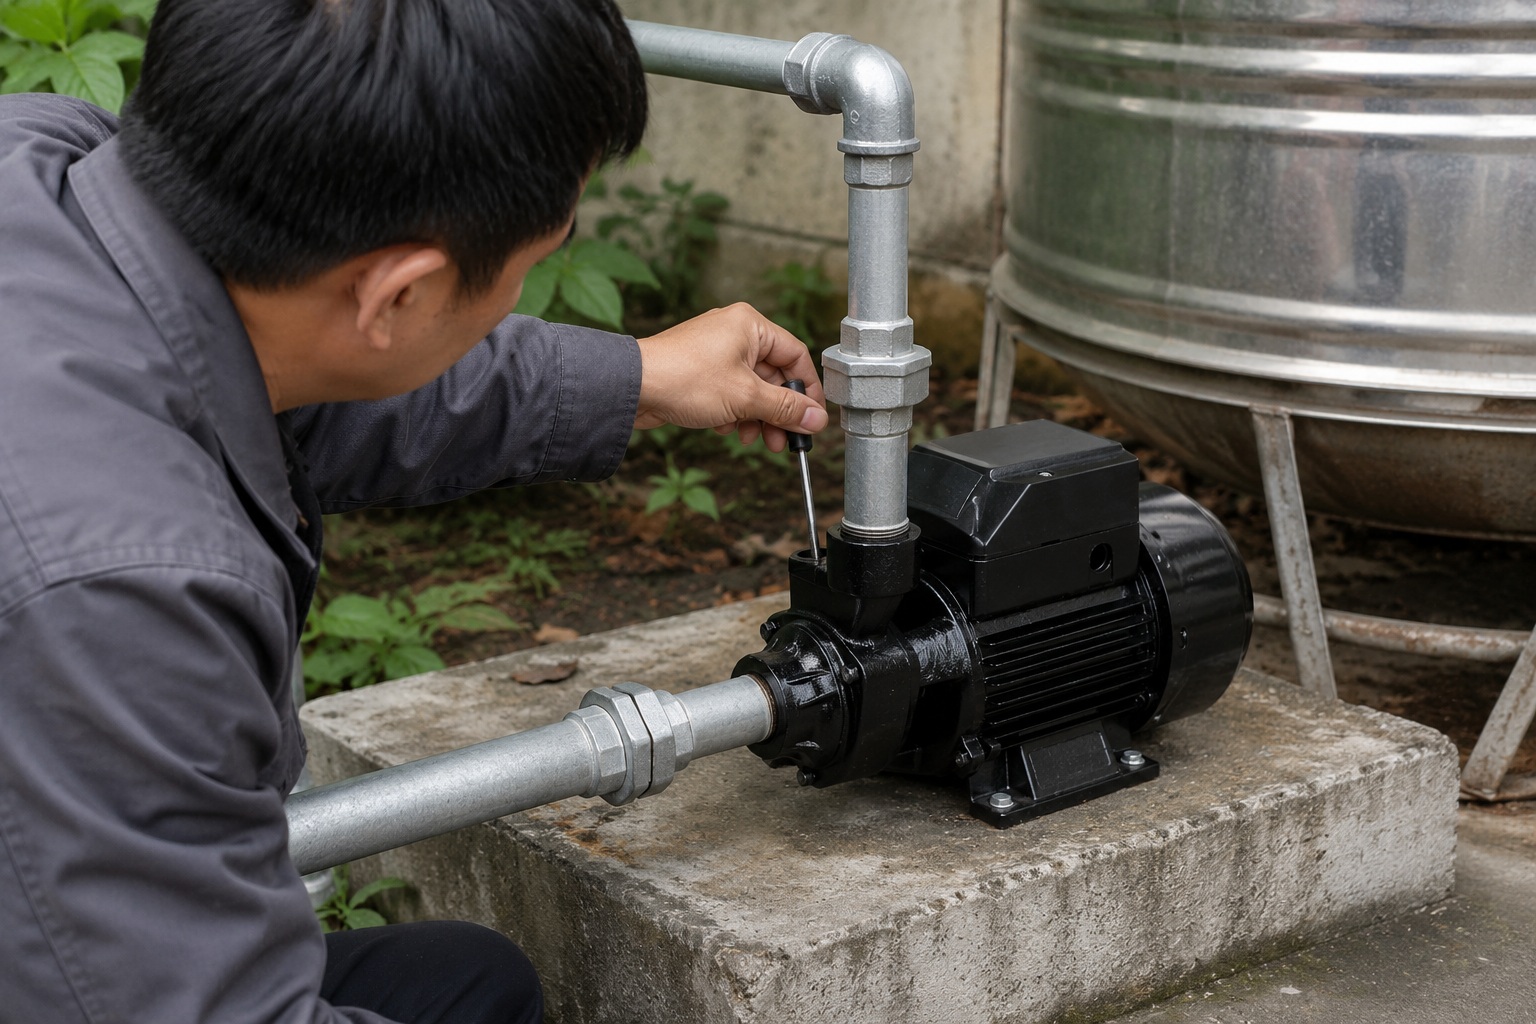
Understanding how to fine-tune your pump's pressure is a vital part of water system maintenance.
It’s not just about getting a stronger shower.
Correctly calibrated pressure ensures a smooth, consistent flow to every tap and appliance in your home or on your property.
This balance prevents unnecessary wear on the pump motor, reduces energy consumption, and extends the life of your entire water system.
Whether you have a modern pump with a digital display or a traditional well pump with a metal switch box, the principles are the same.
This guide will walk you through the process for both types, empowering you to take control of your water pressure safely and effectively.
How to Adjust an Automatic Water Pump Pressure Controller
Your modern pump with an electronic controller might not be delivering the pressure you expect.
You might feel hesitant to tamper with an electronic unit, fearing you could damage it.
The good news is that adjusting it is often simpler and safer than working on older mechanical systems.
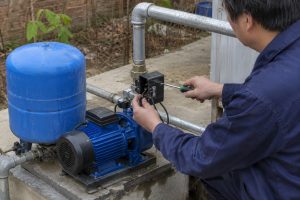
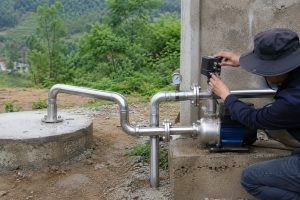
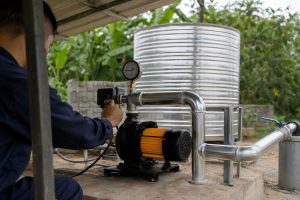
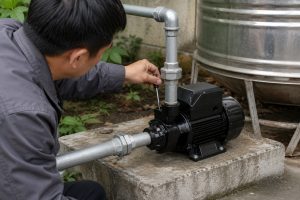
Adjusting an automatic water pump controller usually involves turning a single adjustment screw. This action electronically raises or lowers the pump's starting pressure (the "cut-in" point). Always disconnect the power before making any adjustments and monitor the built-in pressure gauge to see the results.
An automatic pressure controller is an electronic brain for your pump.
It's designed for user-friendly operation without requiring you to handle mechanical springs or exposed contacts.
The core of the adjustment is a single screw that communicates new settings to the unit's internal sensors.
This process allows you to fine-tune when the pump kicks in, directly influencing the water pressure you experience.
Let's explore the process in more detail.
Step-by-Step Guide for Automatic Controllers
The process is methodical and safe if you follow these steps.
- Turn Off the Power: Before you do anything else, locate the circuit breaker for your pump and switch it off. This is the most critical safety step.
- Check Current Settings: Open a tap to drain pressure from the system and observe the pressure gauge. Note the pressure at which the pump would normally kick in.
- Adjust the Tension Screw: Locate the adjustment screw on the controller. It's often marked with "+" and "-" symbols. Turn it clockwise (+) to increase the start pressure or counter-clockwise (-) to decrease it. Make small, incremental changes—a half-turn at a time is a good starting point.
- Monitor the Results: Turn the power back on. Close all taps and let the pump run until it shuts off.
- Test the System: Open a tap and watch the pressure gauge. Note the new pressure at which the pump kicks back in. If it’s not where you want it, repeat the process until you achieve the desired setting.
The Importance of Cut-In Pressure and the Pressure Tank
On most automatic controllers, you are primarily setting the "cut-in" pressure.
This is the low-pressure threshold that tells the pump to start working.
The cut-out pressure is often managed automatically by the controller's internal logic.
If your system includes a pressure tank, its air charge is critically linked to the pump's cut-in pressure.
For optimal performance, the pressure tank's air charge should be set to approximately 0.2 bar (or 2-3 PSI) below the pump's new cut-in pressure.
This coordination prevents a problem called "pump cycling," where the pump turns on and off too frequently, which can cause motor burnout.
An improperly configured tank can reduce system efficiency by over 30%.
| Pump Cut-In Pressure | Recommended Tank Pre-Charge |
|---|---|
| 30 PSI (2.1 BAR) | 28 PSI (1.9 BAR) |
| 40 PSI (2.8 BAR) | 38 PSI (2.6 BAR) |
| 50 PSI (3.4 BAR) | 48 PSI (3.2 BAR) |
| 60 PSI (4.1 BAR) | 58 PSI (3.9 BAR) |
How Adjustments Affect Advanced Pump Systems
Fine-tuning pressure settings is especially important for advanced systems like variable speed drive (VSD) pumps or solar-powered pumps.
These pumps often use high-efficiency BLDC (Brushless DC) permanent magnet motors, which can achieve efficiencies over 90%.
Properly setting the pressure parameters ensures these motors operate in their most efficient range, reducing energy consumption.
For example, in a solar water pump system, optimizing the pressure settings can reduce the load on the motor.
This can decrease the required number of solar panels by up to 15%, saving significant upfront costs.
Whether it's a solar screw pump designed for high-head, low-flow applications in deep wells or a solar centrifugal pump delivering high flow for irrigation, the controller settings dictate the system's overall performance and longevity.
How to Adjust the Pressure Switch on a Water Pump
Your traditional well pump system might be suffering from pressure that's too low or fluctuates wildly.
Opening the gray cover of a pressure switch can feel intimidating, revealing a cluster of wires, springs, and contacts.
However, understanding the function of the two main adjustment nuts makes the process perfectly manageable.
To adjust a mechanical pressure switch, you use two nuts. The larger nut adjusts both the cut-in and cut-out pressure together, setting the overall pressure range. The smaller nut adjusts only the cut-out pressure, changing the difference (differential) between the start and stop points.
This type of switch offers a more hands-on, mechanical way to control your pump.
It uses spring tension to physically open and close electrical contacts that power the pump motor.
While it requires more care than an electronic controller, it gives you precise control over both when the pump starts and when it stops.
This is especially useful for older systems or those in unique situations that demand specific pressure ranges.
Let's break down the mechanics and the step-by-step process.
Safety First: Always Disconnect Power
Before you even think about removing the switch cover, you must turn off the power.
Electricity and water are a lethal combination.
Go to your home's breaker box and shut off the circuit dedicated to the well pump.
Confirm the power is off by trying to run water until the pressure is gone and the pump does not turn on.
Failure to do this can result in severe electrical shock.
Your safety is more important than any repair.
Identifying and Adjusting the Nuts
Once the cover is off, you will see two spring-loaded nuts.
The larger, taller nut is the main range adjustment.
The smaller, shorter nut is the differential adjustment.
- Large Center Nut (Range): Turning this nut clockwise raises both the cut-in and cut-out pressures. Turning it counter-clockwise lowers both pressures. This moves the entire pressure window up or down.
- Small Side Nut (Differential): Turning this nut clockwise only raises the cut-out pressure, increasing the gap between start and stop. Turning it counter-clockwise only lowers the cut-out pressure, narrowing the gap.
Most residential switches are preset with a 20 PSI differential (e.g., 30-50 PSI or 40-60 PSI). It is rarely necessary to adjust the small nut.
| Nut Adjustment | Effect on Pressure | Example (Starting at 30/50 PSI) |
|---|---|---|
| Large Nut Clockwise | Increases Cut-In and Cut-Out | Becomes ~35/55 PSI |
| Large Nut Counter-Clockwise | Decreases Cut-In and Cut-Out | Becomes ~25/45 PSI |
| Small Nut Clockwise | Increases Cut-Out Only | Becomes ~30/55 PSI |
| Small Nut Counter-Clockwise | Decreases Cut-Out Only | Becomes ~30/45 PSI |
Critical Pro-Tips for a Successful Adjustment
Keep these professional tips in mind to avoid common pitfalls.
First, if you adjust the cut-in pressure, you must also adjust your pressure tank.
The tank's air pressure should always be 2 PSI below the new cut-in setting to prevent rapid cycling and damage.
Second, avoid adjusting the cut-off pressure too high.
If you set it higher than what your pump can physically produce, the pump will never reach the shut-off point.
This will cause it to run continuously, leading to motor overheating and guaranteed premature failure.
A pump that cannot shut off is a major red flag.
How to Inspect Your Well Pump Pressure Switch
You've tried adjusting the pressure, but your pump still behaves erratically or fails to turn on.
The problem might not be the settings, but the physical condition of the switch itself.
You might worry that the issue is complex and expensive to fix.
A quick, simple inspection of the pressure switch can often reveal common and easily fixable problems.
To inspect a pressure switch, first cut the power. Then, open the cover and look for debris, insects, or corrosion. Check that wire connections are tight and that the silver-colored contact points are clean and shiny, not blackened, rough, or pitted from use.
Over time, a pressure switch can wear out just like any other mechanical part.
It's exposed to moisture, vibrations, and constant electrical arcing every time the pump cycles.
Insects are also surprisingly common culprits, crawling inside and blocking the contacts from making a connection.
A visual inspection is a powerful diagnostic tool that costs nothing and can save you from calling a professional for a simple issue.
Let's review what to look for.
Visual Inspection Checklist
With the power safely disconnected, remove the switch cover and perform a systematic check.
- Check for Debris: You would be amazed how often a spider, ant, or bit of dirt is the root cause. Carefully clean out any foreign material.
- Check Wire Connections: Gently tug on each wire to ensure it is securely fastened in its terminal. Loose wires can cause intermittent power and arcing.
- Check for Corrosion: Look for rust or green/white corrosion on the terminals and wire ends, which can impede electrical flow.
- Inspect the Contact Points: This is the most important part of the inspection. The points are the small, circular metal discs that touch to complete the circuit.
Reading the Signs: What Do Worn Contacts Look Like?
Healthy contact points look clean, smooth, and shiny, like tiny silver discs.
Worn-out contacts tell a story of overuse or system problems.
- Blackened or Burnt: This is a sign of electrical arcing, which occurs every time the switch operates. A small amount is normal, but heavy blackening indicates a problem.
- Rough or Pitted: If the surface of the contacts looks like sandpaper or has tiny craters, it's a clear sign of significant wear.
These conditions create a poor electrical connection.
A pitted surface can reduce conductivity by over 50%, meaning the pump motor doesn't receive full power, causing it to struggle or fail to start.
This damage is often caused by rapid cycling, where the pump turns on and off too frequently.
When to Adjust vs. When to Replace
If the contacts are only slightly dirty, you may be able to clean them with a fine file or emery board specifically designed for contact points.
However, if the points are severely burnt, pitted, or worn down, no amount of cleaning or adjustment will fix the problem.
In this case, the switch must be replaced.
Fortunately, pressure switches are relatively inexpensive and widely available.
Replacing a worn-out switch is often a more reliable and long-lasting solution than trying to repair a failing one.
It restores the "like-new" performance of your pump's control system and prevents future headaches.
Conclusion
Adjusting and inspecting your pump's pressure control is crucial for a reliable water system.
This maintenance ensures efficiency, extends equipment life, and delivers the strong, steady water flow you need.
FAQs
What happens if pump pressure is too high?
Excessively high pressure, typically over 70-80 PSI, can damage pipes, fittings, and appliances.
It can cause leaks, shorten the lifespan of your plumbing, and lead to water wastage.
How do I increase my water pressure from my well?
You can increase pressure by adjusting the pressure switch.
Turning the large nut clockwise raises both the starting and stopping pressure, delivering more force throughout your system.
What should my pump cut-in and cut-out pressure be?
A common residential setting is 40-60 PSI.
This provides strong pressure without over-stressing the system.
The ideal range depends on your home's size and your pump's capabilities.
Why does my water pump keep turning on and off?
This is called rapid cycling.
It's often caused by a waterlogged or improperly charged pressure tank, or a leak somewhere in your plumbing system.
How do you adjust a Square D pressure switch?
Use a nut driver on the two springs inside.
The large nut adjusts the pressure range (cut-in and cut-out), while the smaller nut adjusts the differential (cut-out only).
Is 70 PSI too high for water pressure?
Yes, 70 PSI is generally considered high for a residential system.
Most home plumbing fixtures are designed to operate best between 40 and 60 PSI.
Should the pressure tank be full of water?
No, a pressure tank should not be full of water.
It is designed to hold a cushion of compressed air that pushes the water out into your pipes.
How do I know if my pressure switch is bad?
Signs of a bad switch include the pump not turning on, the pump not turning off, or erratic and rapid cycling.
Pitted or burnt contact points are a clear physical sign.